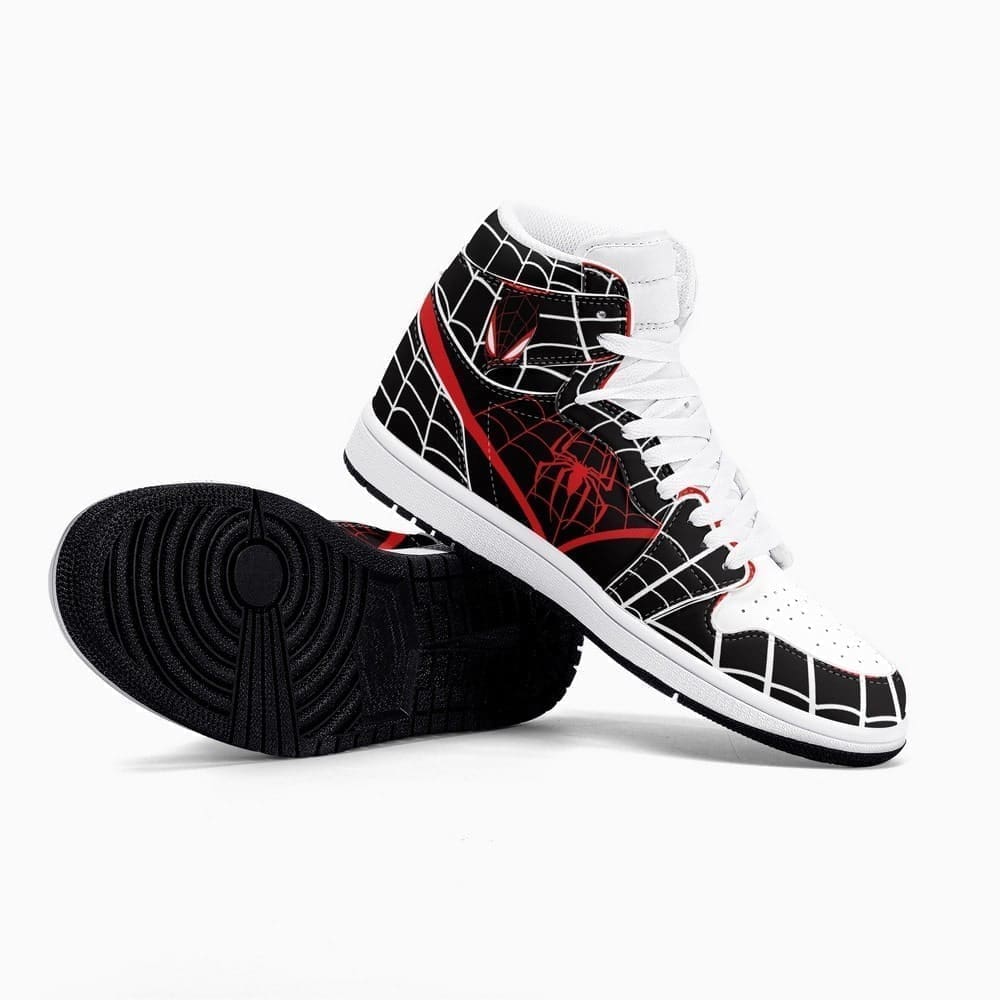
Spiderman
How to Decorate Spider-Man Shoes with Paint and Markers
Do you love Spider-Man and want to add a touch of your favorite superhero to your footwear? Decorating your own Spider-Man shoes using paint and markers is a fun and creative way to express your fandom. In this tutorial, we’ll guide you through the steps to create custom Spider-Man shoes that will make you the envy of all your friends.
Materials Needed
- A pair of plain white or light-colored canvas shoes
- Acrylic paints (red, blue, black, and white)
- Fabric markers or permanent markers
- Paintbrushes (various sizes)
- Painter’s tape
- Pencil and eraser
- Waterproof sealant spray (optional)
- Newspaper or cardboard (to protect your workspace)
Step-by-Step Guide
Step 1: Prepare Your Workspace
Cover your workspace with newspaper or cardboard to protect it from paint spills. Ensure you have all your materials ready and within reach.
Step 2: Sketch Your Design
Using a pencil, lightly sketch the Spider-Man design onto your shoes. This could be the iconic Spider-Man mask, web patterns, or even full-body Spider-Man figures. If you’re not confident in your freehand drawing skills, you can use a stencil or print out a design to trace.
Step 3: Outline with Markers
Once your design is sketched out, use black fabric or permanent markers to outline the major elements. This will help define your design and make painting easier.
Step 4: Apply Painter’s Tape
If your design includes sharp edges or you want to avoid painting certain areas, apply painter’s tape to those sections. This will help keep your lines clean and precise.
Step 5: Start Painting
Begin painting the larger areas of your design first. Use red paint for Spider-Man’s mask and blue for his suit. Acrylic paint works well on canvas shoes and provides vibrant, long-lasting colors. Use smaller brushes for detailed areas.
Step 6: Add Details
After the base colors have dried, add details such as webbing and facial features. Use black paint or markers for the web patterns and outlines, and white paint for highlights in the eyes or other areas. Take your time to ensure accuracy and detail.
Step 7: Touch-Ups
Once all the paint has dried, go back and touch up any areas that need it. Erase any visible pencil marks that remain.
Step 8: Seal Your Design
To protect your custom Spider-Man design from wear and tear, apply a waterproof sealant spray. This step is optional but recommended for durability.
Step 9: Let Dry
Allow your shoes to dry completely before wearing them. Follow the sealant’s instructions for drying time.
Conclusion
Creating your own Spider-Man sneakers is a fun project that allows you to showcase your creativity and love for one of Marvel’s most iconic superheroes. Whether you’re making these shoes for yourself or as a gift for a fellow Spider-Man fan, you’re sure to turn heads with your unique, custom footwear.

If you’re looking for more Spider-Man-themed shoes, be sure to check out the fantastic collection at Shoes Mates. They offer a variety of stylish and high-quality Spider-Man shoes that are perfect for any fan. Visit Shoes Mates today and find the perfect pair to add to your superhero wardrobe!


