Movie
DIY Guide How to Create Custom Halloween Shoes
Halloween is the ideal opportunity to be creative, and nothing says individualism like a pair of custom Halloween shoes. Whether you’re dressing up for a party, trick-or-treating, or simply wanting to show off your spooky side, creating your own shoes is a fun and unique way to express yourself. Plus, it’s much simpler than you may expect!
In this post, we’ll walk you through the steps to make your own DIY bespoke Halloween shoes that will set your costume apart from the rest.
I. Materials You Will Need to Create Custom Halloween Shoes
Before beginning your bespoke Halloween shoe creation, collect the necessary materials:
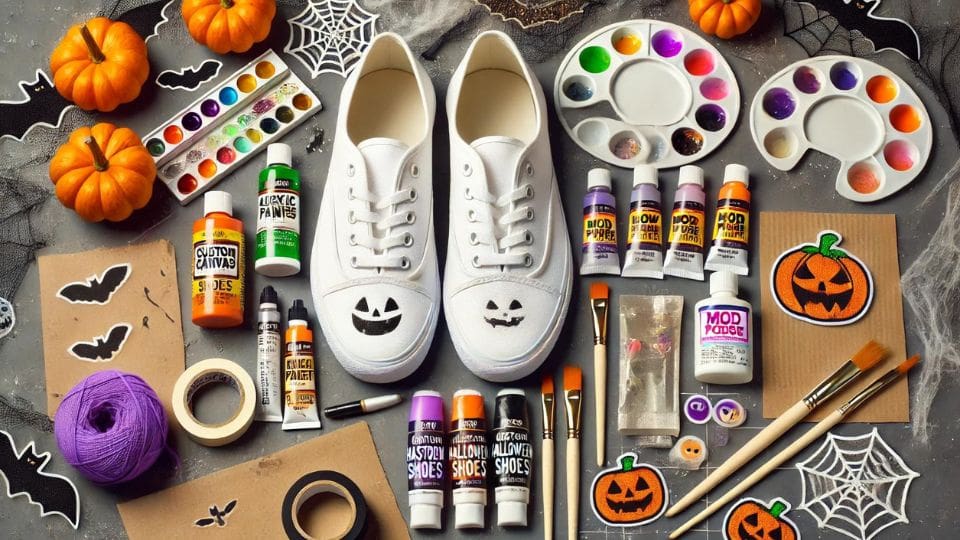
- A pair of plain shoes (ideally white or black canvas shoes are excellent for painting)
- Acrylic paints of various colors (Halloween-themed hues such as black, orange, green, and purple are good).
- Paint brushes (fine-tipped for details, bigger for base coats).
- Use waterproof fabric markers to outline and add finer details.
- Stencils or masking tape for clear lines and forms are optional.
- Mod Podge or fabric sealant can protect your design from wear and tear.
- Glow-in-the-dark paint (optional, but enjoyable for added Halloween flare)
- Patches, stickers, or rhinestones can add texture and dimension to your design.
II. Step-by-Step Guide to DIY Custom Halloween Shoes
Step 1: Choose Your Design
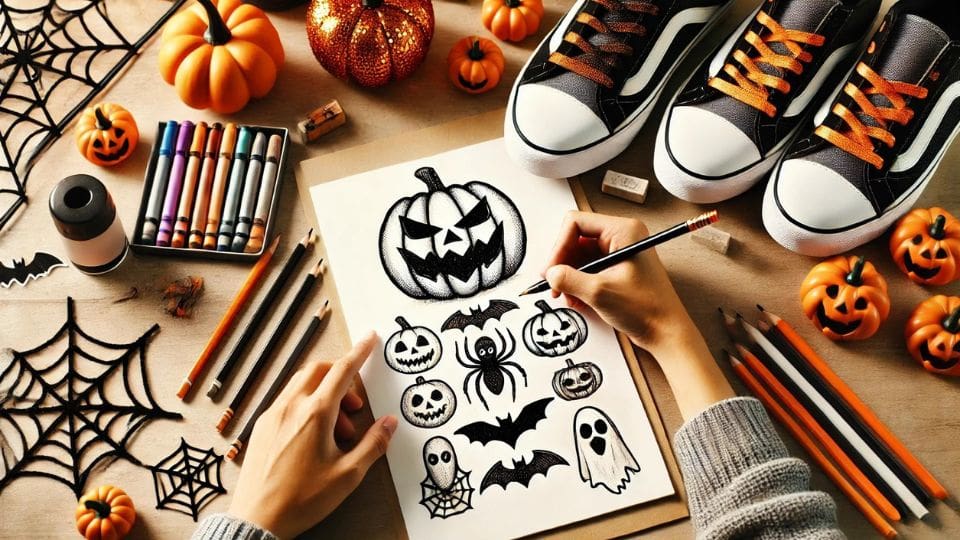
The first step is to choose a theme or design for your bespoke Halloween shoes. You might go for a traditional Halloween look like pumpkins, bats, or witches, or you can dress up as horror-themed figures like Michael Myers or Freddy Krueger. If you’re stumped for ideas, exploring networks like Shoes Mates or Pinterest might be really helpful.
Sketch out your design on paper first to have a clear picture of how it will look on your shoes. This will help you keep organized and avoid mistakes when you begin painting.
Step 2: Prepare the Shoes
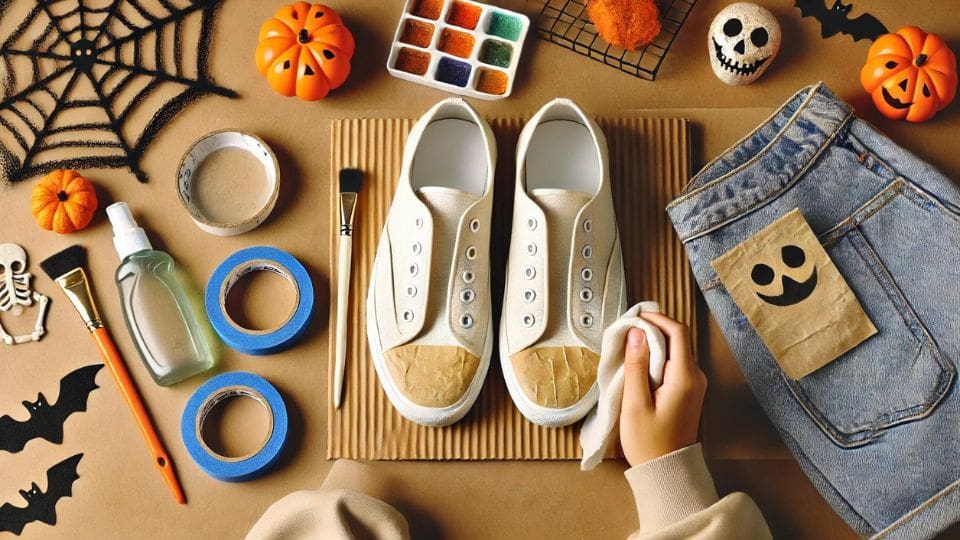
Make sure your shoes are clean and dry before starting. If you’re using canvas shoes, you may want to apply a light coat of fabric primer to help the paint adhere better. You can also use masking tape to cover areas you want to keep clean, like the soles or inside of the shoes.
Step 3: Paint the Base Layer
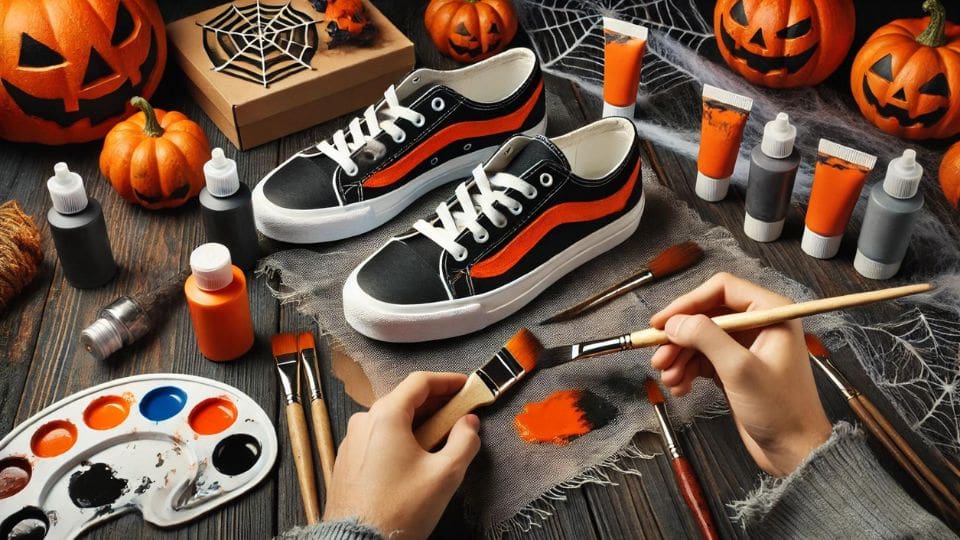
Start by painting the background of your shoes. If you’re going for a full-color look, choose a color that fits your theme. For example, a black base works well for spooky, night-themed designs, while white is great for more colorful, playful looks like pumpkins or ghosts.
Use a larger brush to cover the shoe evenly and let it dry completely before moving on to the next step.
Step 4: Add Your Details
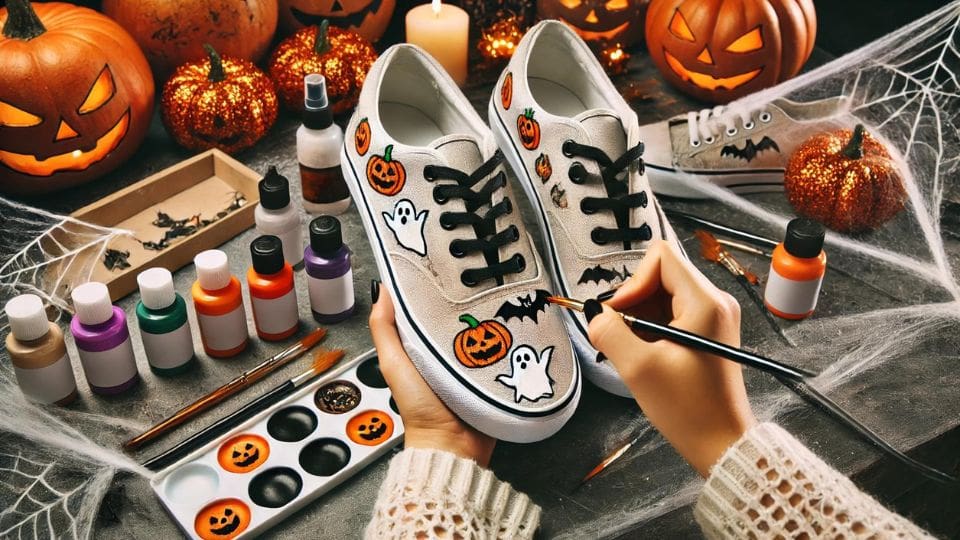
Now comes the fun part! Using fine brushes or waterproof fabric markers, begin adding details to your shoes. Outline your sketches with fabric markers if you’re unsure about freehand painting.
If you’re aiming for something creepy, try painting spider webs, haunted houses, or eerie eyes peeking out from the darkness. For a lighter, more playful design, pumpkins, witches’ hats, and ghost faces can bring a fun Halloween vibe to your shoes.
For more precision, you can use stencils to create clean lines or shapes. You can also add glow-in-the-dark paint to make your shoes stand out in the dark—perfect for Halloween night!
Step 5: Personalize with Add-ons
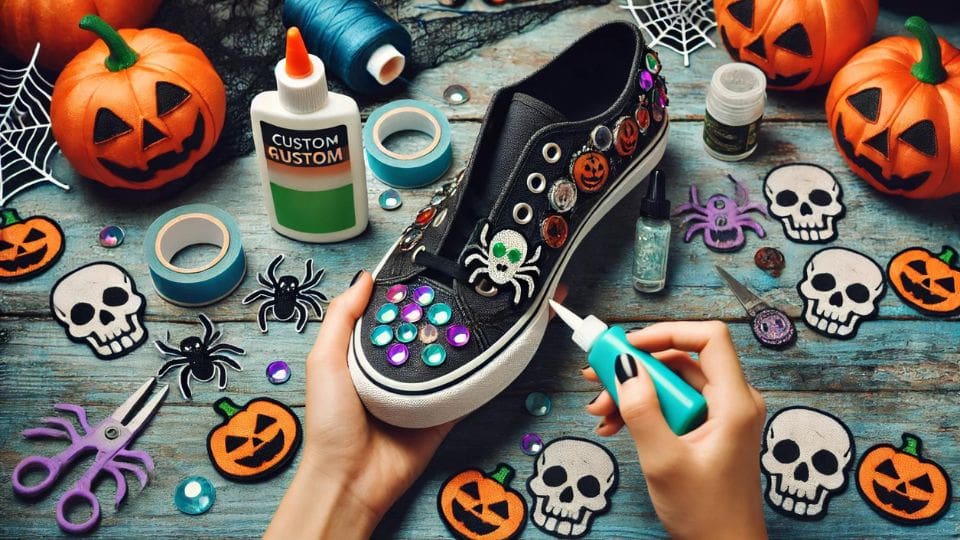
Consider embellishing your personalized Halloween shoes with fabric patches, stickers, or rhinestones. Once the paint has dry, you may glue these onto the shoe to add texture and personality to your design.
You can also experiment with laces by replacing conventional laces with Halloween-themed ones in colors like orange or black, or even ones that illuminate in the dark!
Step 6: Seal Your Design
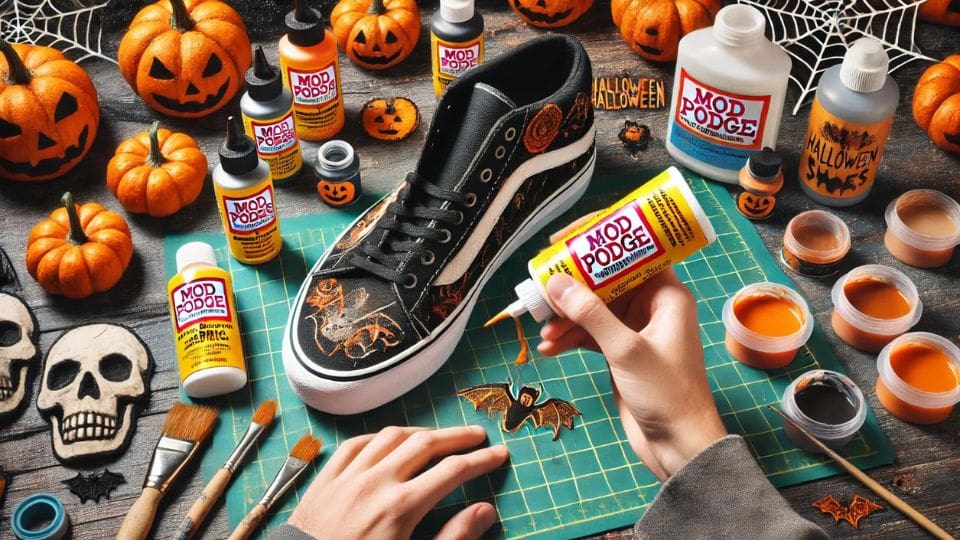
Once you’re happy with your design and it has fully dried, it’s important to seal it to protect it from wear, dirt, and weather. Apply a layer of Mod Podge or a fabric sealant over the painted areas. This will ensure that your design stays intact throughout the Halloween season and beyond.
Let the sealant dry for at least 24 hours before wearing the horror shoes.
III. Design Ideas for Custom Halloween Shoes
If you’re still unsure about what design to Halloween sneakers, here are a few simple yet effective ideas to inspire your creativity:
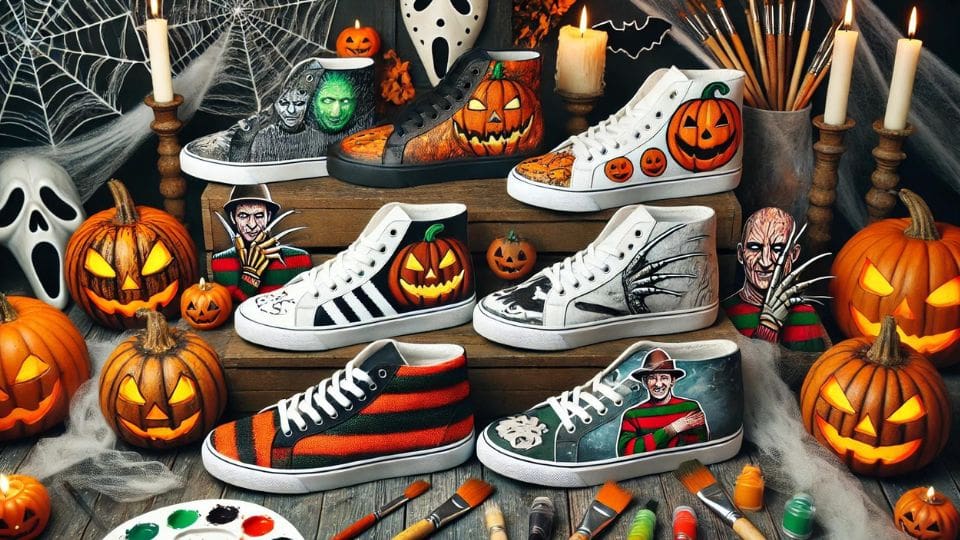
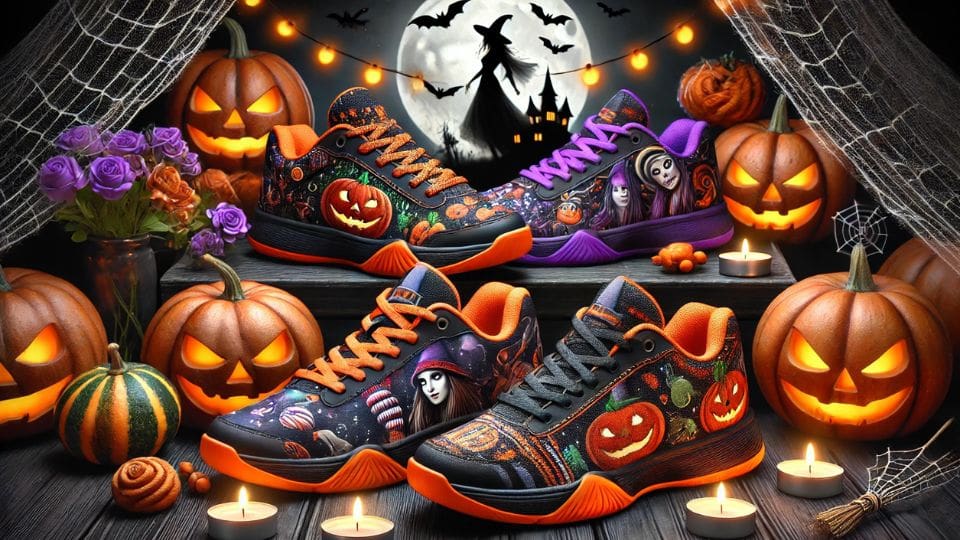
- Spooky Pumpkin Shoes: Create a fun, vibrant design with orange paint and draw jack-o’-lantern faces all over your shoes.
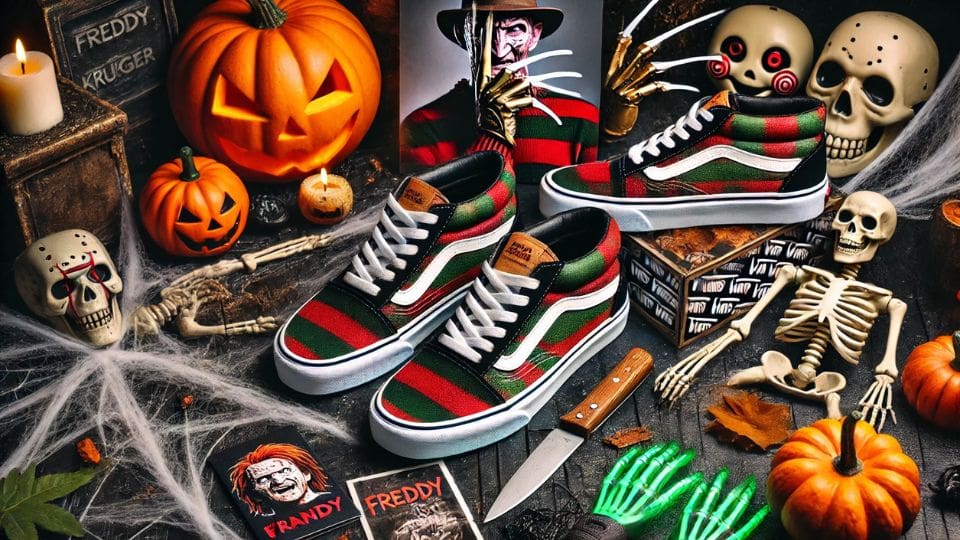
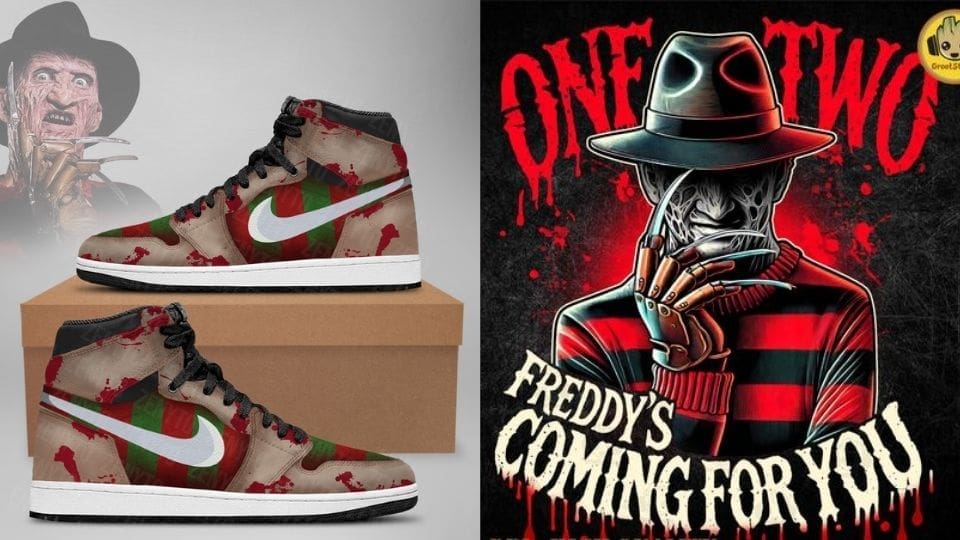
- Horror Movie Icons: Paint one shoe with Freddy Krueger’s iconic red and green sweater, and the other with Michael Myers’ eerie face.
- Glow-in-the-Dark Ghosts: Use glow-in-the-dark paint to create ghostly figures that will light up at night, making you the star of any Halloween party.
- Vampire Bats: Paint a nighttime sky full of flying bats and finish with blood-red accents to give it a dark, gothic edge.
- Haunted House: Sketch a haunted mansion across the side of the shoe, complete with crooked windows, spooky trees, and a glowing full moon in the background.
IV. Tips for a Successful Custom Halloween Shoe Project
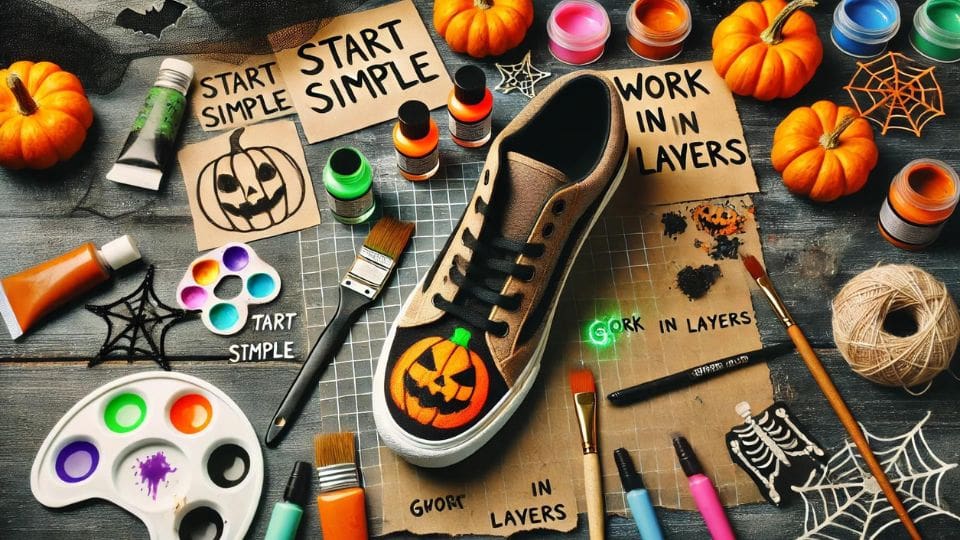
- Start with simple designs: If you’re new to painting shoes, start with simpler designs like pumpkin faces or ghosts before moving on to more complex ideas.
- Work in layers: Don’t rush. Apply thin layers of paint and let them dry completely before adding more details.
- Practice on paper: If you’re nervous about painting directly onto the shoes, practice on paper first until you feel comfortable with your design.
- Experiment with textures: Don’t be afraid to mix materials like glitter, fabric patches, or studs to add dimension and character to your shoes.
- Have fun!: The key to creating amazing custom Halloween shoes is to enjoy the process. Let your creativity run wild and don’t worry about perfection.
Making your own original Halloween themed shoes is a fun and satisfying hobby that will help you stand out from the crowd with a distinctive, individualized look. Whether you’re going for a spooky, playful, or terrifying look, DIY Halloween shoes allow you to make your vision a reality. If you need materials or inspiration, head over to Shoes Mates, where you can get a variety of Halloween-themed accessories as well as DIY tutorials for making the ultimate Halloween shoes. This season, make your shoes as distinctive as your costume!

